Several web designers are aggravate from coding and find out
stress-free way to design web pages without burden of coding which takes extended
time. After spending bulk of hours in coding at the last they can’t accomplish
require design. So an alternative come into their minds and they want to learn graphic
designing in Photoshop to resume their times. They explorer the internet
but can’t fine out worthy webpage which contains proper guidance. But here
don’t be worry you’ll be leant step by step about how to design Graceful Menu
Bar for websites. Just give attention on this tutorial and read it thoroughly.
If yo’ll do practice with us at every step I’m sure you’ll be talented in this
field soon.
Adobe Photoshop Menu Bar Tutorial For Beginners Step By Step
If you want to create menu bar then follow us step by step
which are mentioned in below. I think this will so easy for you and you can make
it effortlessly.
Step 1: Make New Document Related To Menu Bar
First of all generate a new document just go to File
-> New or press Ctrl + N from your keyboard, a window will open
which contains lot of options related to your document. The first option is
name so change the New Document name as M Bar with default name Untitled-1.
In below give Preset value as Custom from the drop down menu.
Now set width and Height of your menu bar. Width will
indicate that how will long menu bar horizontally and height will indicate that
how will long menu bar vertically. Set the Width 1040 pixels and
Height 40 pixels.

Menu bar size has set, give resolution to document as 72
Pixels/Inches and select Color Mode RGB 8bit. The resolution is a option
by which you can get results high or low. If you want high graphics results
then select high value of resolution. In the Last select Background Contents as
Transparent which will give you colorless sheet in front of your screen.
After setting all options in New Document window the resulted
document will appear like below image.
Transparent Sheet is ready for designing, so you can generate
menu bar at your wishes. Now we’re going to design it, pick up Round Shape Tool and draw diagram into
sheet with Fill and Stoke color #649fc7 which looks like as background
like below image.

It is a background color of the menu bar, give some effects
to this bar to make a beautiful menu bar. So for this you must to go Add
Layer style option and then go to Blending Options.

After clicking of Blending Options one more window will open.
Go to Style and pick up Blue Gel style for your menu bar. Now
uncheck the Outer Glow and reduce the Drop Shadow Distance at
5px and press Ok button.

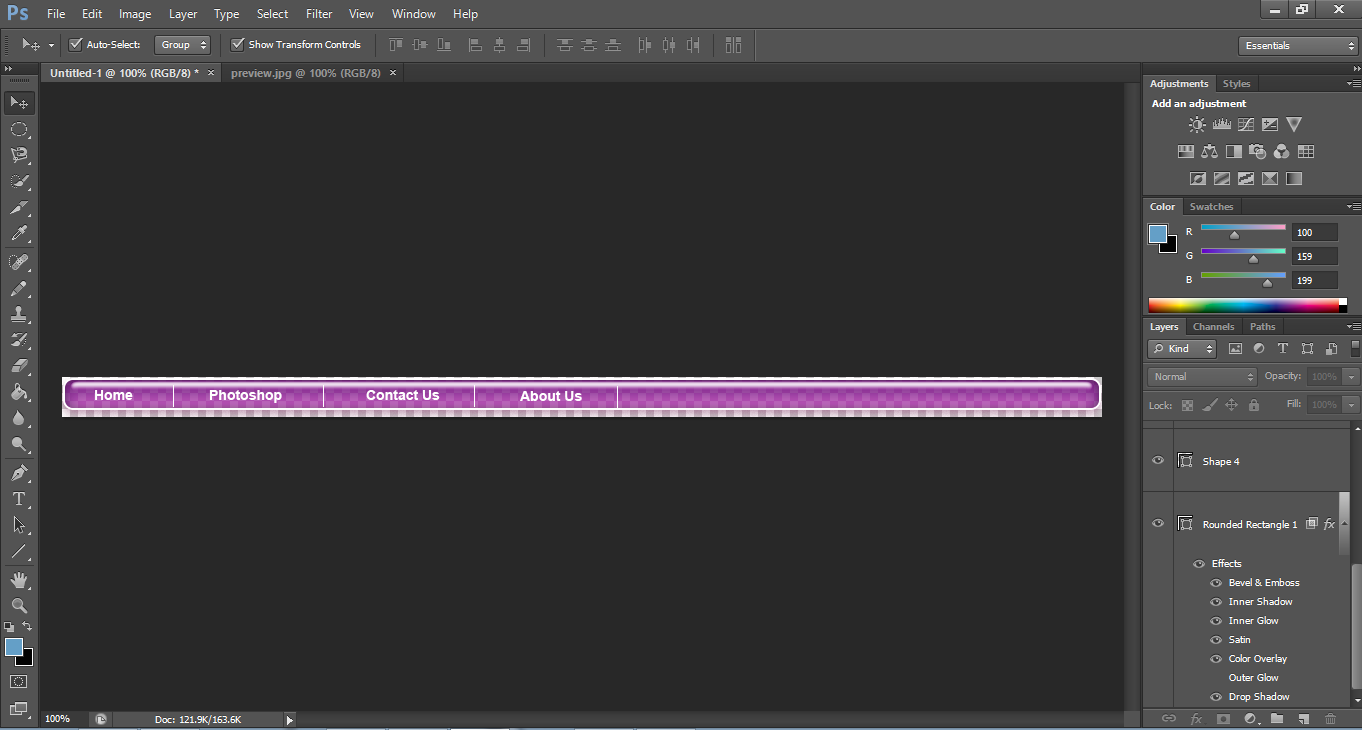
The menu bar design is complete now it’s time to add Menu
names at the bar. For this purpose you must to select Type Tool and must
be added Menu names one by one. First I’ve added Home Text with Font style
“Arial” size 14pt and give color #ffffff. After adding Home text draw a white line in front of text.
“Arial” size 14pt and give color #ffffff. After adding Home text draw a white line in front of text.
So add all text links on menu by repeating above steps. After
every text, drop the white line, this will separate the text each other’s and
will increase beauty of your menu bar. Now all Menu texts have been added on
menu bar.
You can save it, just go to File -> Save it as PNG image format. One more thing is here, you can give links to Menus by the Slice Tool. Add the links to every menu, pick up the Slice Tool and slice out every menu area.

After slicing, do Right Click on each slice and
select Edit Slice Option. A new window will open having lot of options
related to link add Names of links, URL and Alt Tag then click Ok Button. So give link addresses to
every menu one by one by repeating same step.
At the last go to File -> Save for web or Save
as for PNG format in to your computer. Enjoy this tutorial and do
practice at your end, I’m sure you’ll be gotten skills soon after follow my guide
lines.
Ultimate Results
Conclusion
In above tutorial we have learnt how to design graceful Menu
Bar for websites In Photoshop. Just I’ve told you an easiest way to
design a Menu Bar step by step. First of all create new transparent document
with size of menu bar. After that draw a Round Rectangular shape and give it Blue
Gel style from layer style window. Now add Menu Names by help of type tool on
the bar with white color. After adding the menu names, slice out these name and
linked these from Edit Slice Option. At the last went to File -> Save for
Web saved it into computer. Enjoy this tutorial and make practice step by
step. Soon you’ll expert in graphics designing.
Incoming Searches
Photoshop Menu Bar Tutorial
photoshop menu bar tutorial
photoshop menu bar tutorial pdf
photoshop menu bar tutorial in hindi
adobe photoshop menu bar tutorial
photoshop cs6 menu bar tutorial
See Also
0 comments:
Post a Comment